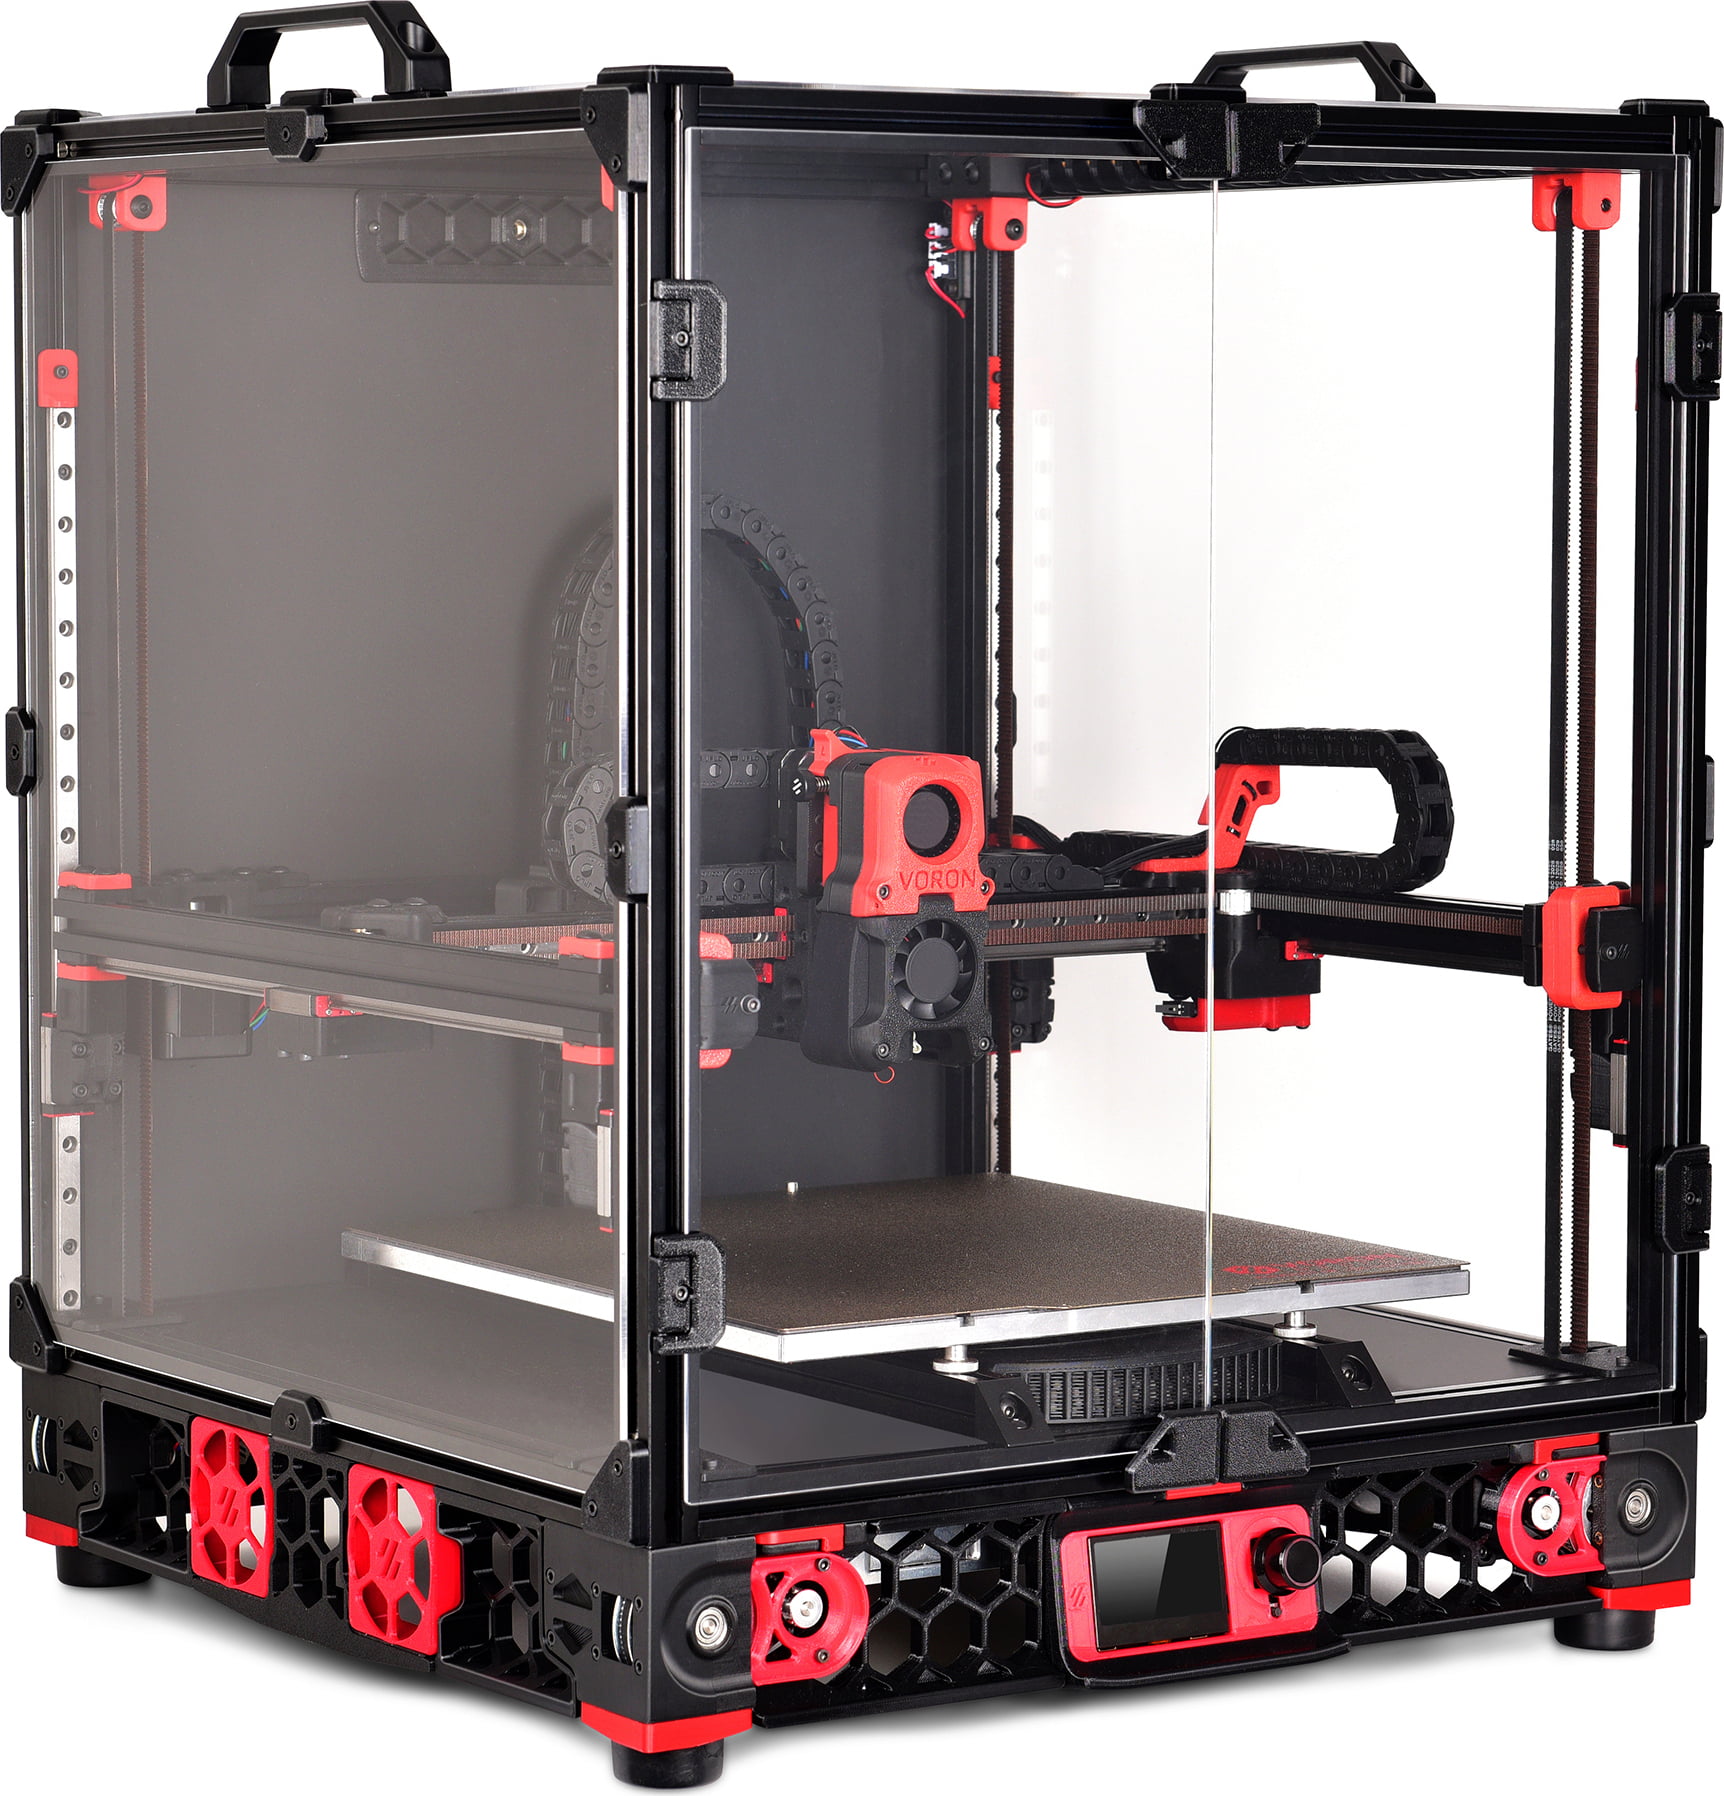
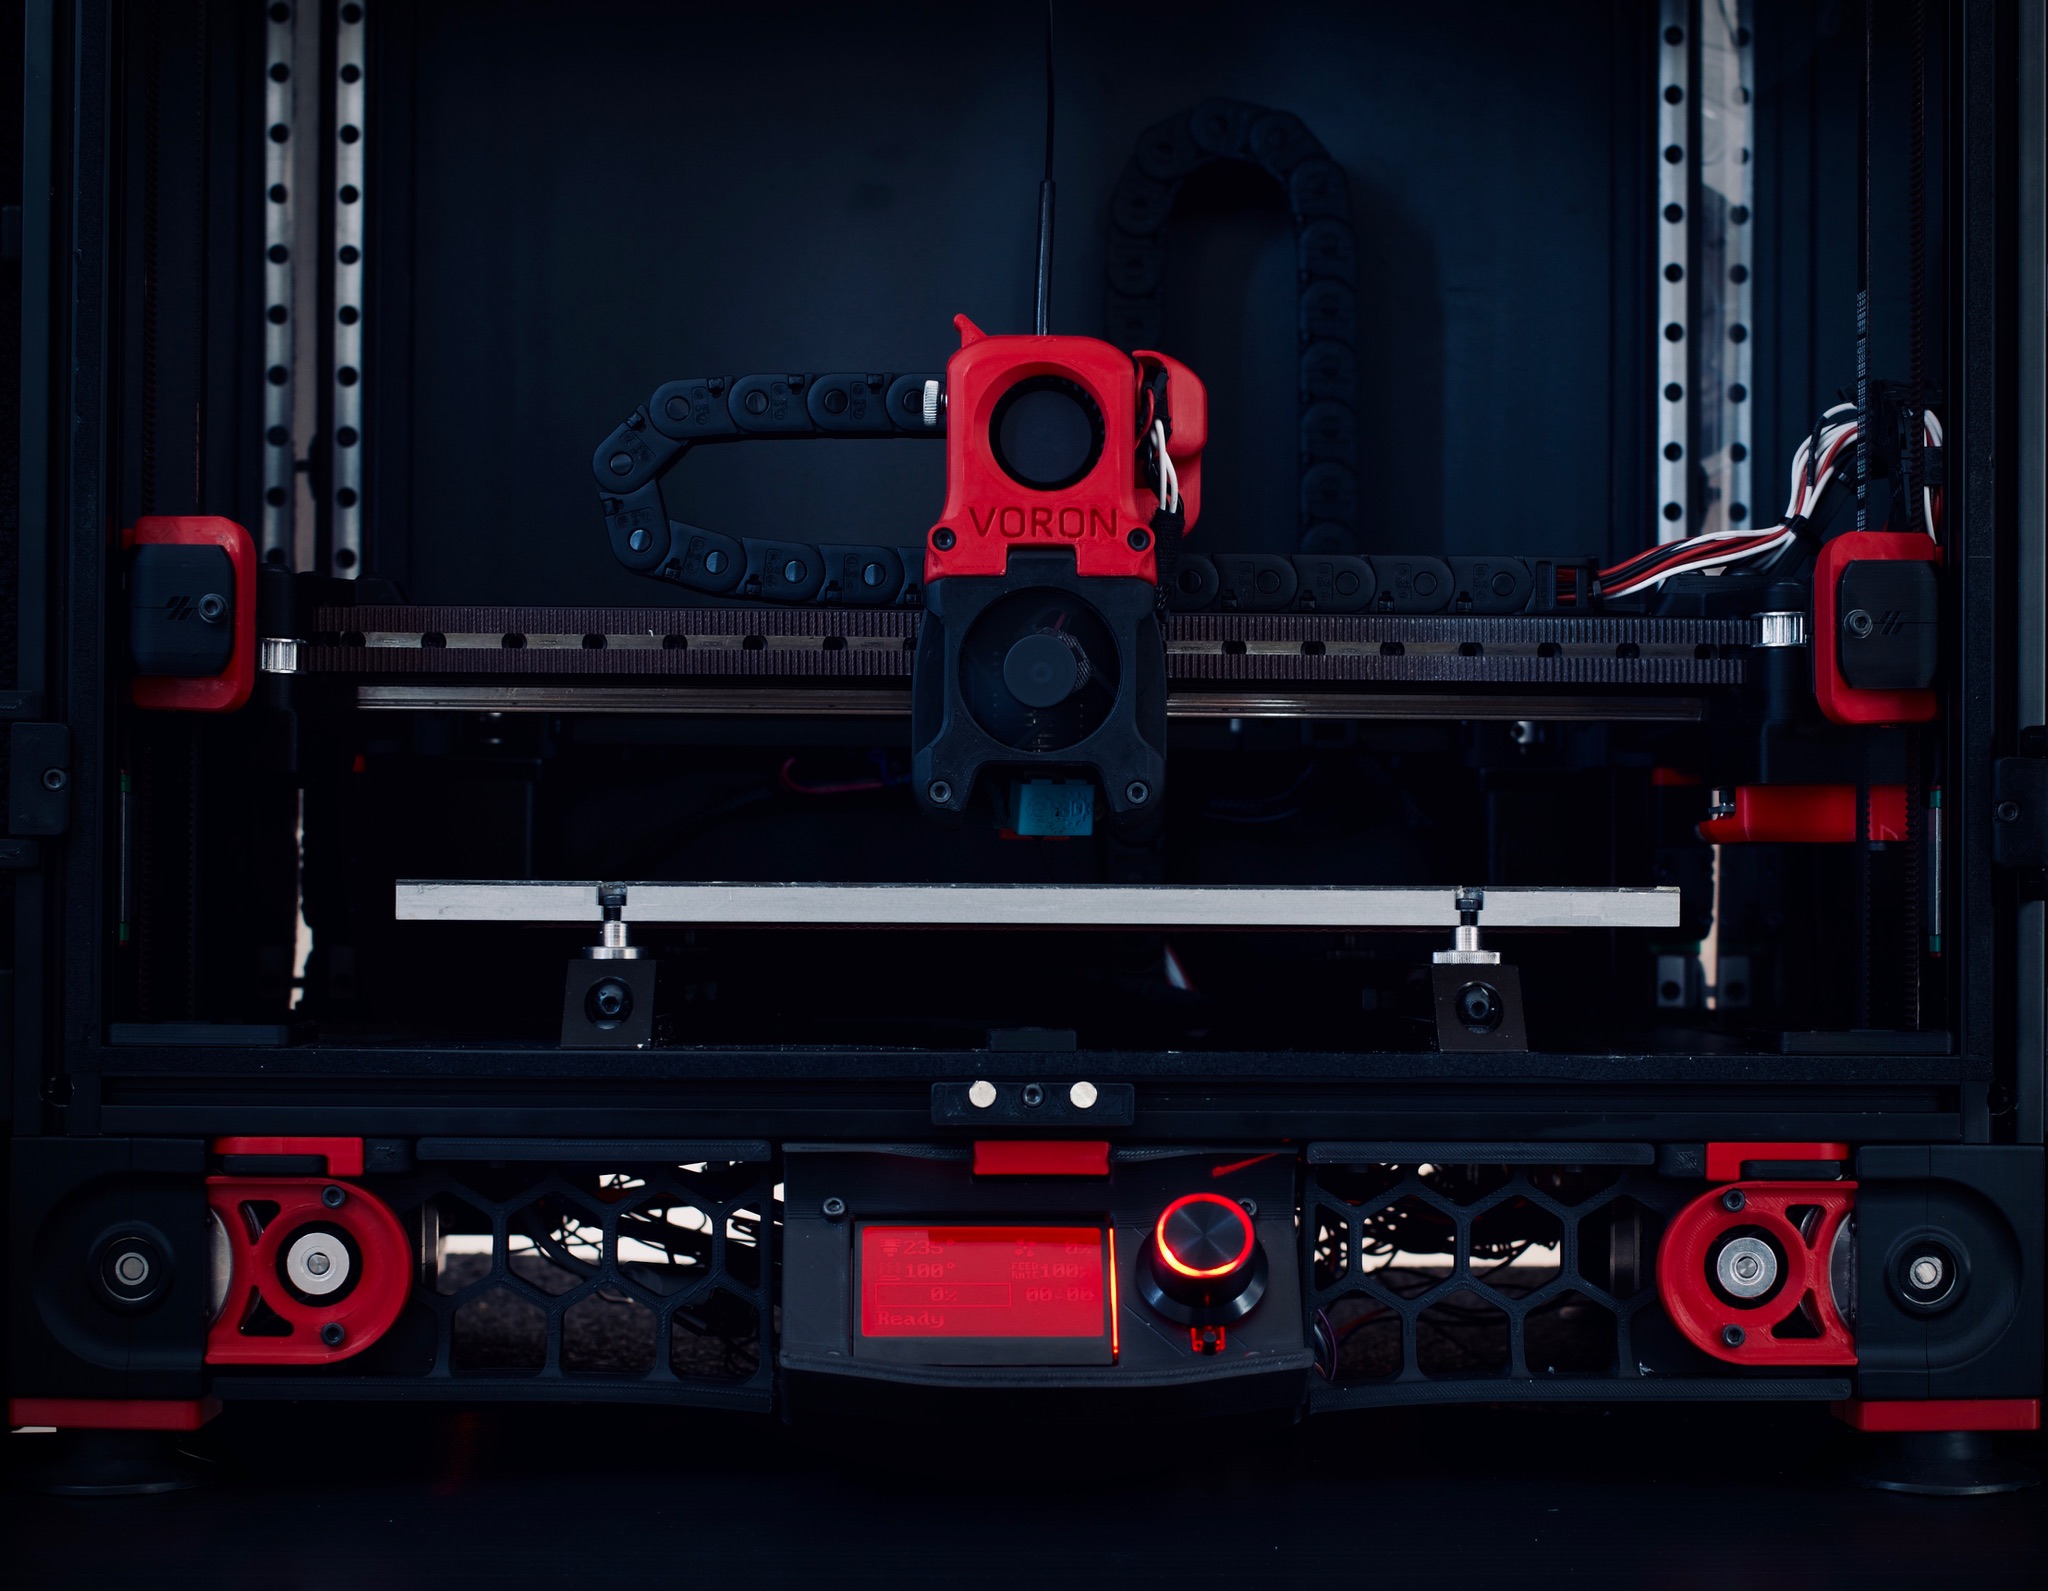
Description
About Voron
The original goal of the VORON project, back in 2015, was to create a no-compromise 3D printer that was fun to assemble and a joy to use. It had to be quiet, clean, pretty, and continue to operate 24 hours a day without requiring constant fiddling. In short a true home micro-manufacturing machine without a hefty price tag. It took over a year in development, with every part being redesigned, stress tested and optimized. Shortly after the release a vibrant community formed around the project and continues to grow today. This community is part of what makes VORON such a special experience. What was once a one-person operation has grown into a small tight-knit group of engineers united under a common design ethos. We’re dedicated to creating production-quality printers you can assemble in your kitchen. It’s this passion and dedication that drive us to push the boundaries just a little further. We build space shuttles with gardening tools so anyone can have a space shuttle of their own. Welcome to VORON Design
Motion System
All Voron printers are built using CoreXY or CoreXZ configurations to reduce the amount of moving mass, allowing increased acceleration and speeds. Depending on the printer, linear rails (MGN7, MGN9, MGN12) or linear rods may be used along the X, Y, and/or Z axes. Gates 6mm and/or 9mm belts are used for movement; genuine Gates Unitta belts are recommended over generic versions for improved reliability and performance. A simple stack of flanged F695 bearings are often used as smooth belt idlers, as the bearings are much larger than the more common GT2 idlers. This provides increased service life.
Frames
All V1, V2, and Legacy frames are constructed with 2020 aluminum extrusions with a 6mm slot width. The V0 is built with 1515 Makerbeam XL extrusions, and the Switchwire is constructed with 6030 and 3030 extrusions. Be sure to pay attention to the extrusion profile–not all extrusion types are the same, even if the outer dimensions are equal!
Motion Control – Klipper
All Voron printers use Klipper firmware. Klipper uses a Raspberry Pi for all the computation-heavy tasks and sends a list of preprocessed orders to the controller board. This gives a considerable amount of flexibility as a variety of control boards (or combination of boards) can be easily configured. As well, more complex features such as input shaping (to reduce ringing) can be added no matter what control board is used. Finally, configuring firmware is fast and easy. Change to your desired parameter in an easy to read printer configuration file, save, and restart Klipper–a few seconds later the printer is ready to go!
Serial Numbers
In 2015, the very first set of 18 Voron printers were packaged in RCF’s garage and shipped as kits. As a fun addition, he gave each kit a serial number. While those were the only printers ever sold directly by RCF, the tradition has lived on as a way to represent the hard work each Voron owner puts into sourcing, assembling, and configuring their printer. It also is a great way to show how the community has grown throughout the years! All it takes to receive a serial number after you have completed your build is to post a video of your printer printing on the Voron Subreddit. Be sure to have your printer cleaned up with all cable management above the deck plate done. Wiring can be tricky, but do your best! Note: the serial submission process has become more automated now. In order to have the bot pick up your serial request video, be sure to use the “Serial Request” flair and add your full Discord name, including the unique 4 digit number (for example, #1234) after your username. Mods will review the requests periodically! 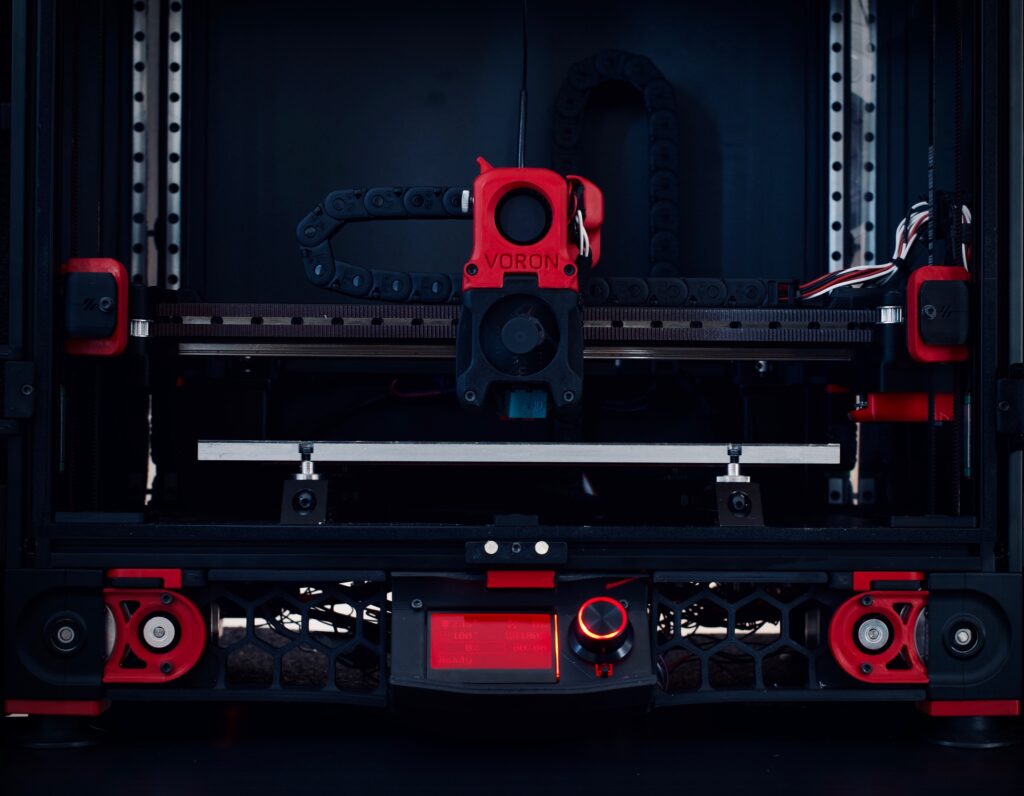 Voron 2.4 R2’s are highly customizable, but here are the specifications for a typical build:
- Style: CoreXY Cartesian
- Frame: Aluminum extrusions with 3D printed parts
- Build volume: 250 x 250 x 250 mm, 300 x 300 x 300 mm, or 350 x 350 x 350 mm
- Extruder configuration: Direct
- Extruder: Bondtech BMG extruder (3:1 gear ratio)
- Hot end: V6, Revo, Phaetus Rapido, Phaetus Dragon, or Mosquito
- Motion system: Belts and linear rails for all axes
- Bed leveling: Automatic leveling using inductive probe or mods such as Klicky and Tap
- Stepper motors: 7x NEMA 17s (4 for the Z-axis, 2 for the X- and Y-axes, 1 for the extruder)
- Voltage: 24 V (with Meanwell PSU)
- Mainboard: BigTreeTech Octopus V1.1 with TMC2209 stepper motor drivers
- Bed: Cast aluminum bed with magnetic PEI sheet
- Enclosure: Detachable clear acrylic panels with a hinged door
- Firmware: Klipper
- Computer: Raspberry Pi 4 (to work with Klipper firmware)

